For a while, I've had the urge to find a project that would give me an excuse to learn more about how computer architectures work at a low level. This is a topic I've been meaning to review since I took a very poorly-taught and unsatisfying computer architecture class at UNM. I do enjoy programming in Brainfuck, but it's classified as an esolang for a reason, and it's closer to the mathematical construct of a Turing Machine than a real-life CPU. Programming something in assembly has always been an option but I'd been at a loss for what to program.
Several weeks ago I stumbled across the Emulator 101 website and knew immediately that it was what I had been looking for. What better way to learn how a CPU works than to implement all of the operations explicitly in C? The website has an extremely helpful and detailed tutorial, and there's a very clear payoff: you can run the original Space Invaders binary on your computer! The Intel 8080 isn't the same as modern computer architectures, but at the very least it's something that people have used to write "real" programs.
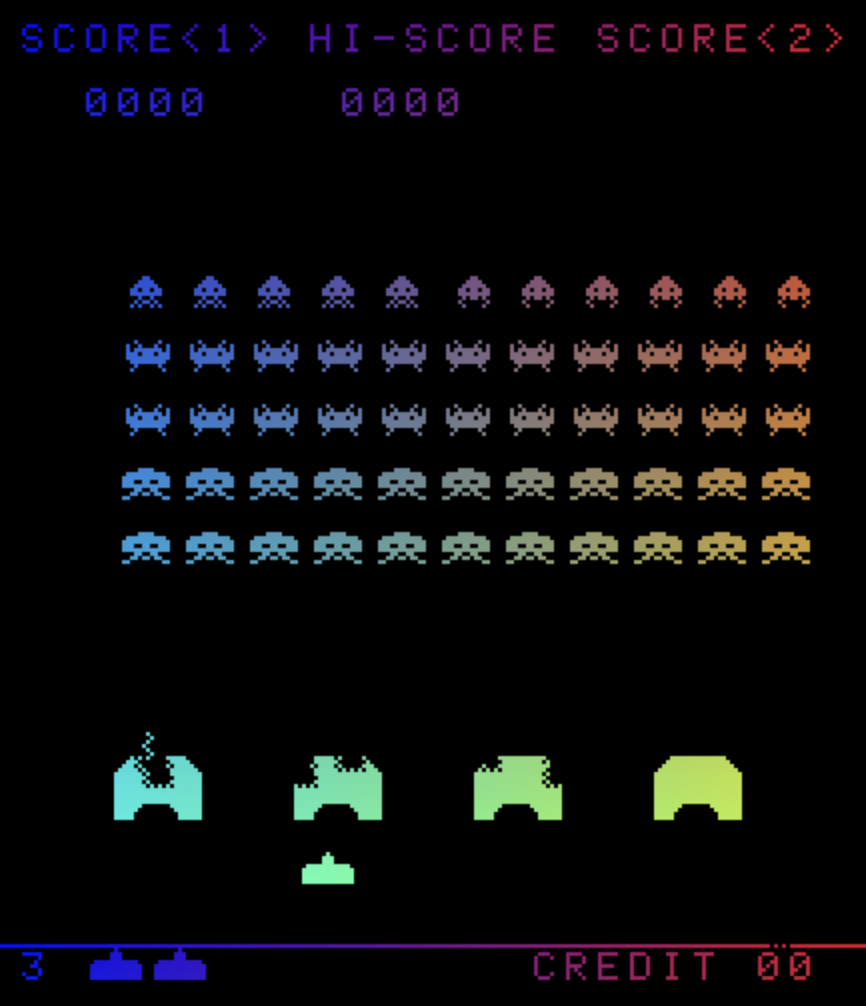
After several weeks of painstaking debugging, I was able to run Space Invaders:
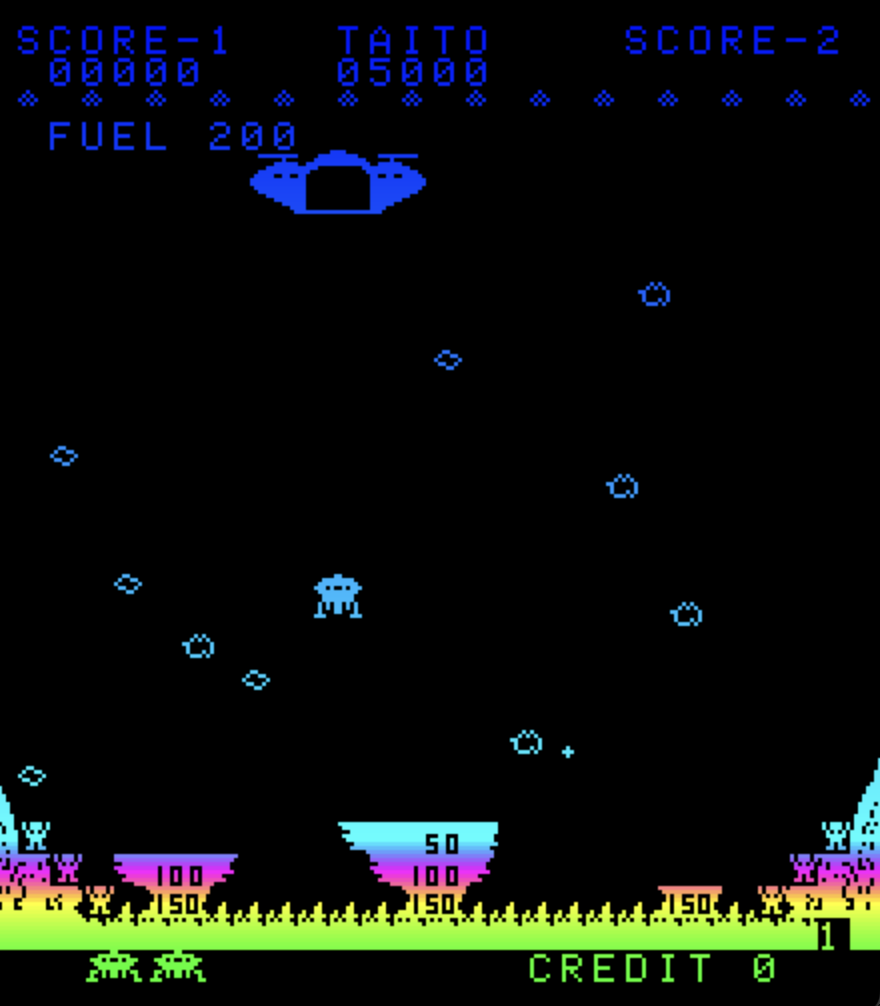
My 8080 emulator was probably one of the most difficult things I've ever had to debug, and using the Space Invaders binary as test code wouldn't have been feasible without these detailed annotations. Getting the flags right was the trickiest part, particularly because they aren't documented very well for some of the instructions listed in the Intel 8080 programming manual. I also found the binary for another old Taito game called Lunar Rescue, which I was also able to run and play (but not before it exposed more bugs in my emulator):
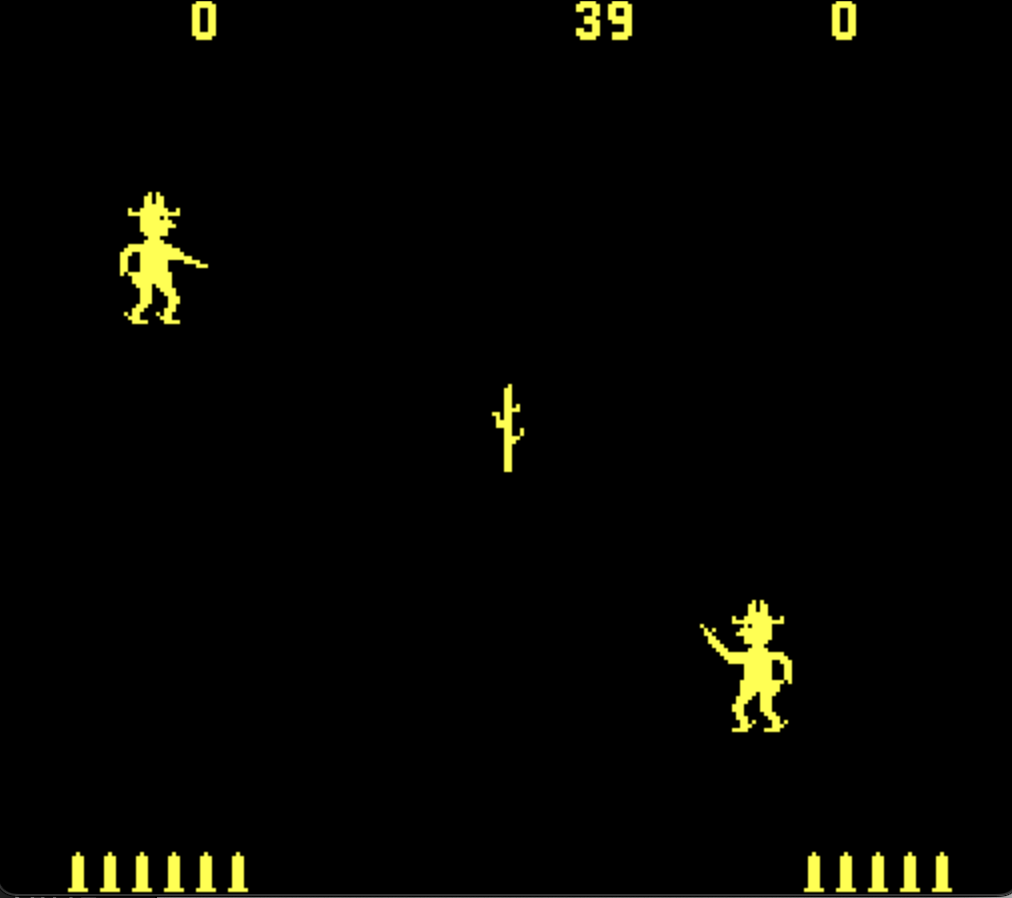
I was also able to run an adorable predecessor of Space Invaders called Gunfight:
I won't write any more about implementing the emulator other than just to say that the Emulator 101 is a fantastic guide and I highly recommend it. All the time I spent poring over the annotated source code of Space Invaders and trying to reverse-engineer bits and pieces of Lunar Rescue and Gunfight (mainly to figure out how the game controls and sound effects map to the bits of the IN and OUT ports) made me want to try writing something myself. I'm a huge fan of Sokoban puzzles, so that's what I decided to tackle.
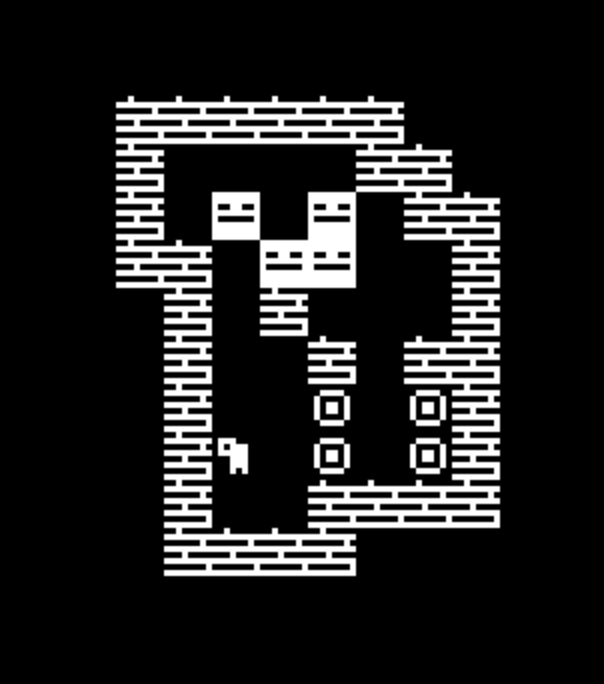
You can find my partial Intel 8080 emulator in this Github repo, along with the binaries for Space Invaders, Lunar Rescue, Gunfight and my Sokoban game, and a Makefile that can be used to compile and run them through the emulator. Here's a screenshot of one of my favorite levels:
Sokoban is a fairly simple grid-based game, so in the spirit of getting as much intuition about low-level programming as possible, I decided to take on the challenge of writing the game binary directly rather than using an assembler for the Intel 8080 architecture. (No, I promise I'm not a masochist.) I've been using a hex editor called Hex Fiend to write the binary. This has been a really interesting exercise that has stretched my brain much differently than a high-level coding project.
I'm not going to get technical about the structure of my code. If you'd like a peek at the nuts and bolts, here's a link to my personal notes. Below are just some lessons I'm taking away from my first Intel 8080 program.
Keeping notes is extremely important. In my opinion this is important in any kind of programming, and I take copious amounts of notes for most of my coding projects, but in a high level language you can often get away with coding for a long time before any kind of documentation is needed. You can even write self-documenting code. Not so when programming in assembly.
This is not just because higher-level languages offer more opportunities to give things meaningful names as a hint to yourself. In assembly programming you can kiss goodbye the referential transparency offerred by function calls in a high-level language. Sure, you can make some of your functions mostly referentially transparent by using PUSH and POP generously, but this is a lot of extra instructions and you will be tempted to cut corners (which is not necessarily a bad thing when you're using a hex editor to write your code one nibble at a time).
Different computer architectures have their own calling conventions dictating, among other things, which registers must be preserved by function calls and which ones are allowed to be "volatile". This is essential for code interoperability. If you're just writing a self-contained game, you may not need your code to be interoperable with anyone else's code, but you do need to remember which registers each of your functions uses as arguments, which registers it leaves untouched (or pops back to their original state after using them), and which registers it uses to pass output back to the caller. Hence the importance of detailed notes.
Here's an example of "calling conventions" that I wrote for one of my helper functions:
ROUTINE DRAWTILERUN 0x0080
Calling convention for drawTileRun:
- HL must contain the address of the sprite ID sequence
    - Format: 1b length of sequence, followed by L bytes
- (B,C) must be the coordinates on the 32x32 screen to start drawing
- After calling, HL points to the last element of the sequence
- After calling, (B,C) are the coords of the cell AFTER the last cell
- E is not affected
Leave lots of padding. If you're coding in assembly and have the ability to label lines of code and write jump instructions that jump to specific labels, then the assembler is taking care of this issue for you and you don't need to worry about it. As mentioned earlier, I opted to raw dog it, which introduced an interesting complication. When you go back to make edits to your code by adding or deleting instructions, the memory locations of all subsequent instructions are changed. This means that any existing instructions from the JMP or CALL families that point to addresses in that region will probably break, pointing to a different instruction.
Obviously the solution is not to manually go through your code and update all of the JMP or CALL instructions every time you make an edit that causes an address shift. The solution is also not to pretend that you will be able to write all of your code correctly the first time and never make any edits.
Instead, you can leave a lot of "slack space" at the end of each of your functions in the form of a long sequence of NOPs. This way, when you need to edit a function by adding or subtracting a few bytes, you can use these NOP bytes as a buffer so that the subsequent functions can stay at the same address. You might choose to do this not only for the beginnings of functions, but also for specific steps within a function that will be the target of a JMP instruction elsewhere in the function, to further insure against address shifts within the function (especially if your function is very long).
But this does mean that you will have to take your best guess about at most how long each of your functions will end up being after the inevitable refactoring. Good luck. In a pinch, you can always jump to a code snippet stored elsewhere and then jump back.
You will need to sacrifice efficiency for convenience. By "efficiency", I am referring more to memory efficiency than speed. For a simple game like Space Invaders or my Sokoban game, the computations aren't very intensive, and emulation in C is fast. My game also isn't very large, but I do think it's a bit more bloated than the Space Invaders binary, mainly because redundant data can save you a lot of time if you let it.
Here's an example of a tradeoff that I faced while implementing Sokoban. In my implementation, the player and the crates are stored by their coordinates on the game board, whereas the "tiles" (walls, targets and empty spaces) are stored in what is essentially a 2D array. Since there are only 3 kinds of tiles, in principle, you only need 2 bits to specify the value of a single tile. This means that there is a perfectly natural way of storing the tile map for a Sokoban level with $N$ tiles using only about $N/4$ bytes.
But this is not what I did. Instead, I used one byte for each tile. All of the 8x8 game sprites are stored sequentially in a region of memory starting at 0x2000, and for each byte of the tile map, I used the index of the corresponding sprite in this list of sprites. This is absurdly inefficient, since I only really use three different values for these bytes, namely 0x24 (wall), 0x2c (empty space) and 0x27 (target). This choice still makes me cringe a little, but the truth is that I probably would have undergone several more hours of frustrated debugging if I had gone the route of combining four two-bit tile codes in each byte of the tile map, since accessing a random tile in the tile map by its index $n$ would require finding byte $n/4$ in the tile map and shifting it by $2\cdot (n\bmod 4)$ bits to extract the correct bit pair. Drawing said tile would then require translating the two-bit tile code into the correct sprite index, and then drawing the sprite at that index.
No thanks. In my current implementation, to draw the tile at a given index, I just have to navigate to the beginning of the tile map, add the tile index to HL, and then draw the tile whose index is stored there. In exchange for this convenience, my level data is more bloated than it could be.
If you're not convinced, and still think I should have gone with the two-bits-per-tile idea, here's my response: theoretically, it's also possible to devise a code that uses no more than $\approx \log_2(3)\cdot N/8$ or approximately $N/5$ bytes to store the values of $N$ tiles each of which can take on one of $3$ possible values. I think it's more clear that this level of compression would be excessive for a silly Sokoban game - it all depends on what balance you choose to strike.
When it comes to modularity, pick your battles carefully. If you decide to undertake this exercise with as few high-level crutches as I have, you will need to force your inner software developer to take a backseat while you program. You may even have to tie up, gag and blindfold your inner software developer in the backseat. Because if you insist on making your program modular, this will take a looong time.
I did not set out to make anything particularly modular or extensible. There are definitely places where I could have used another layer of indirection to make certain game mechanics easier to change, but chose not to (in part because I was just ready to be done with the damn thing).
However, there are certain places where extensibility is more valuable than others. I do not anticipate coming back to this code and making significant changes to the game mechanics. But I could definitely see myself coming back to add more Sokoban puzzles at some point, so I'm trying to make it easy to add new levels to the data section of memory with as few changes to the code section as possible.
Code is data. Some high-level languages highlight the fact that "code" and "data" are just two ways of looking at the same thing. (I'm thinking of Scheme.) But nothing rubs your nose in this fact like writing your executable code by hand in the same binary file as your strings, game sprites and video memory map. If you screw up and forget to RET at the end of a function, the program counter may run off and try to execute whatever happens to be stored in video memory or beyond.
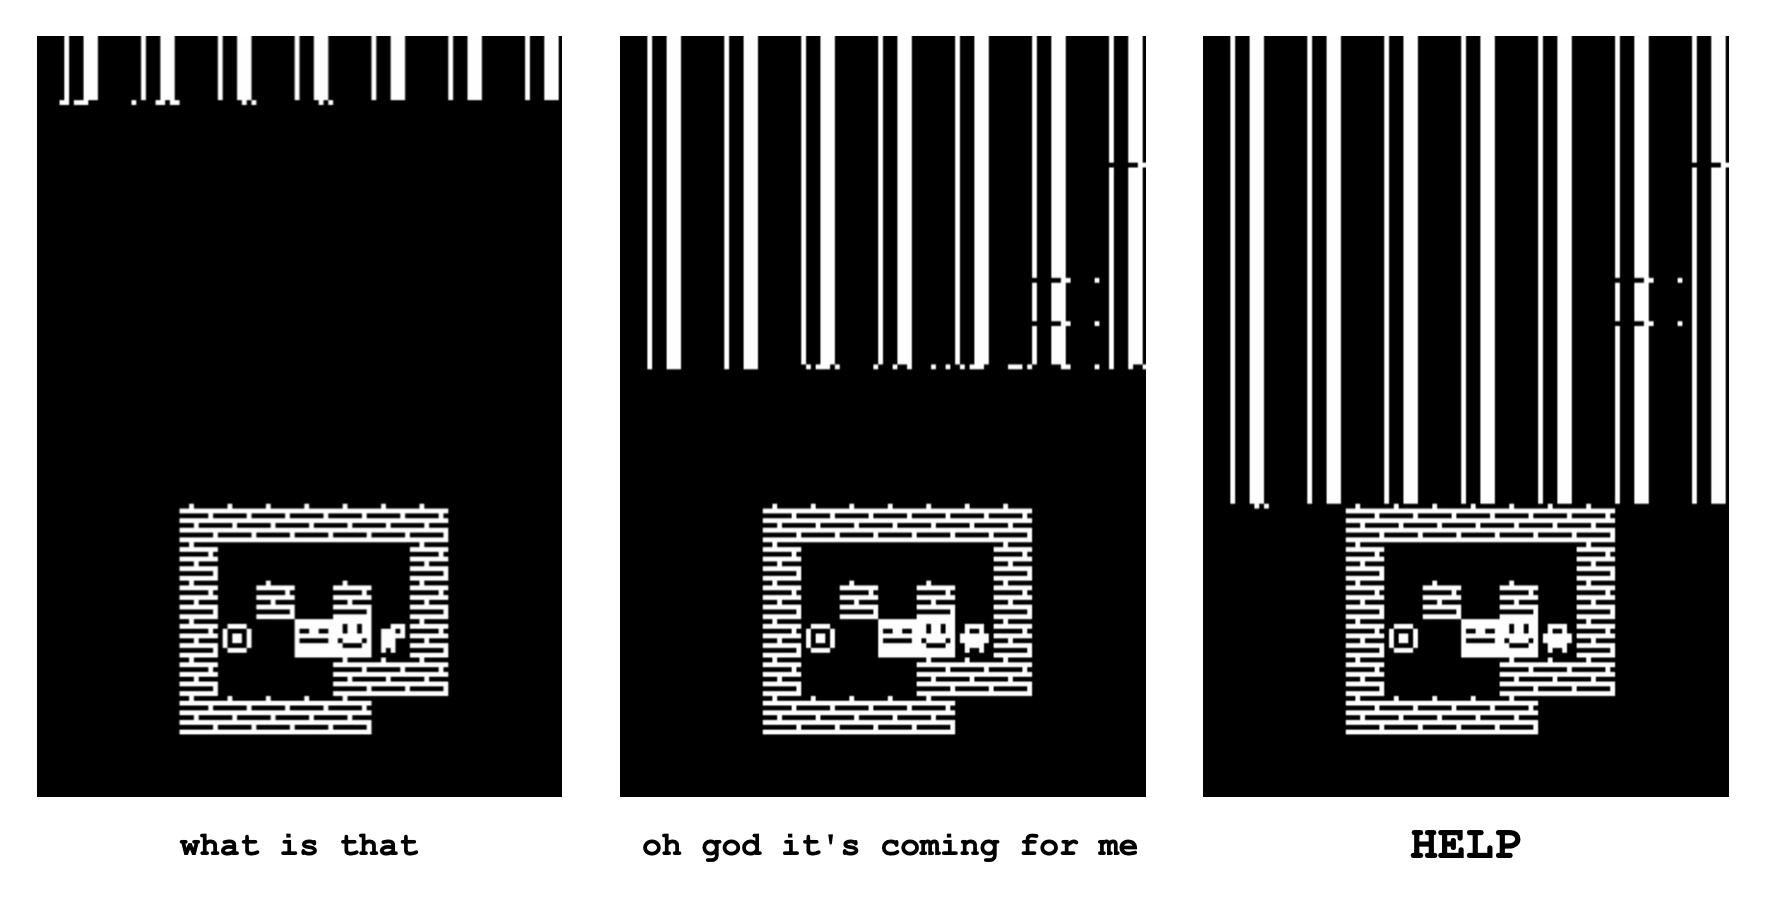
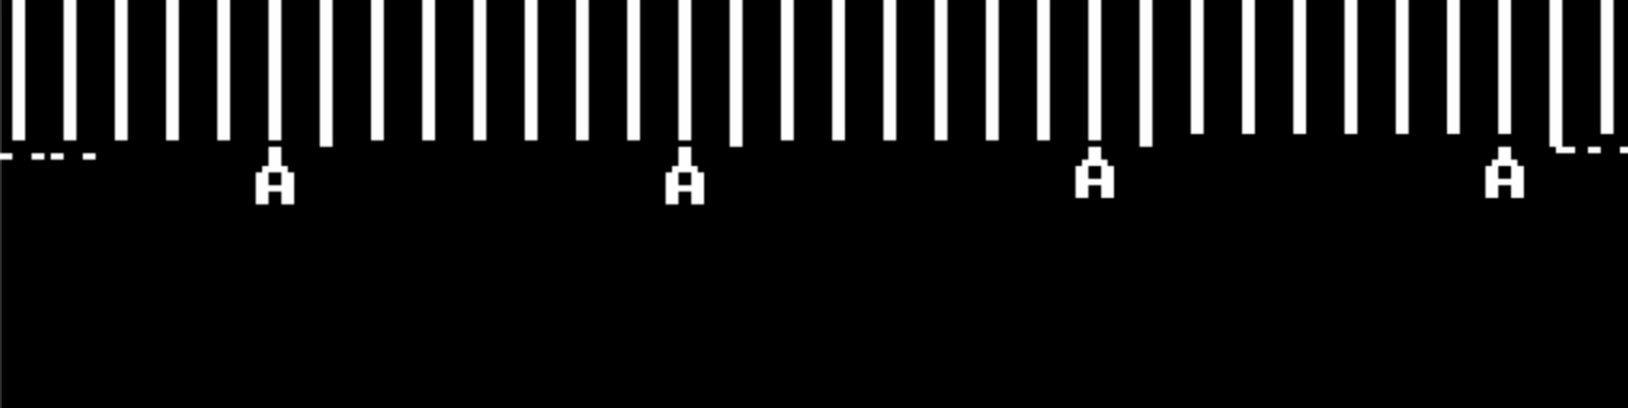
Some of the funniest bugs have come from my PC ending up somewhere it wasn't supposed to be. Sometimes this simply crashes the game by trying to execute a nonexistent CPU instruction. But other times, it wreaks complete havoc on the game. I've seen this pixel salad many times, almost always because I somehow failed to keep my PC within the code section of my memory:
This one is very puzzling:
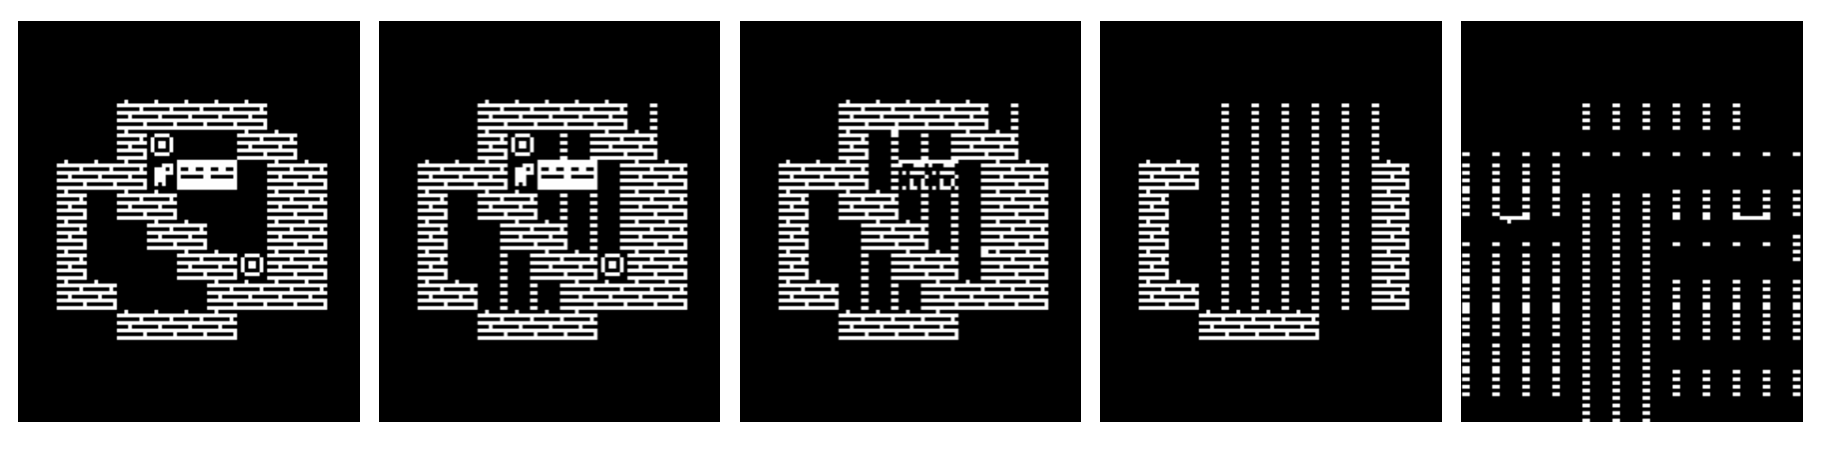
And this ominous slow-moving memory corruption was pretty funny to watch: